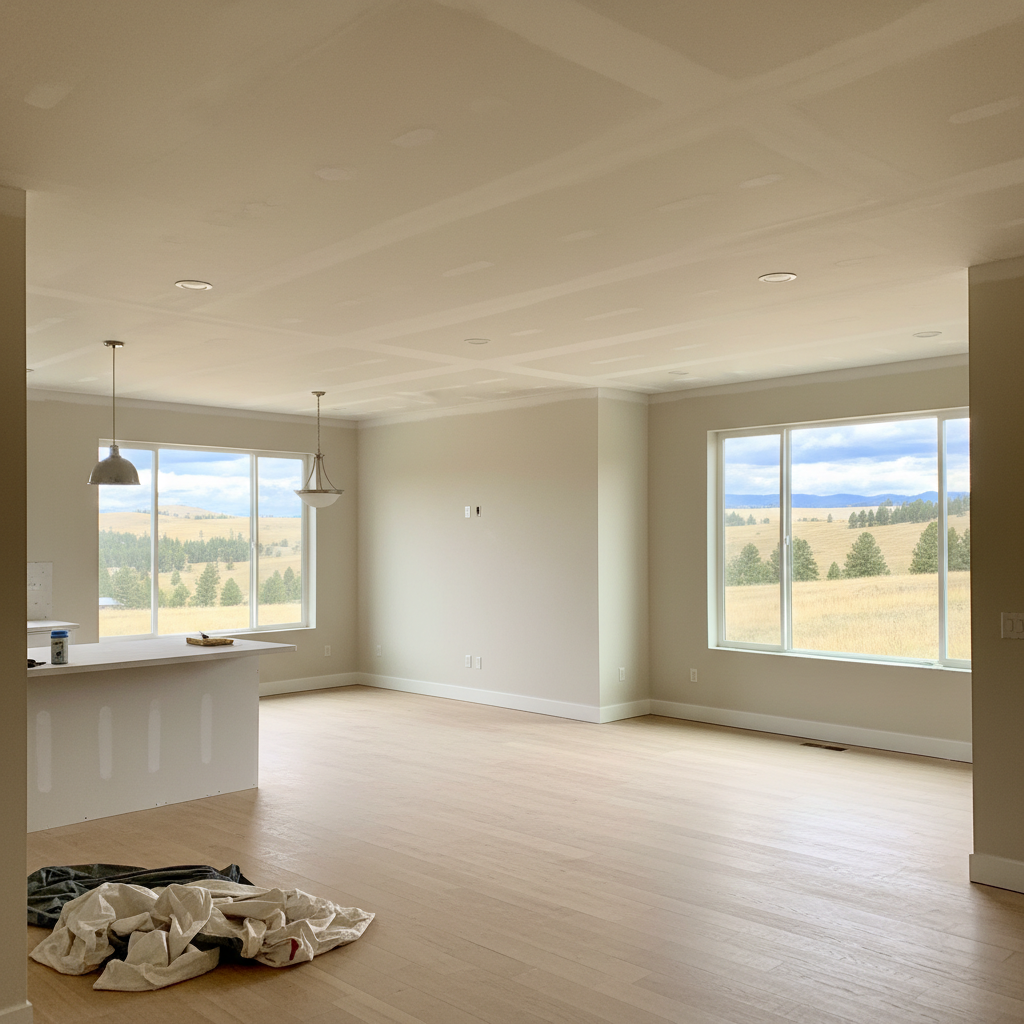
So, you're thinking about getting some drywall finishing done for your place here in Billings, huh? Maybe it's a brand new house, a remodel, or you're finally tackling that basement that's been sitting unfinished for ages. Whatever the reason, you've probably got questions, and I'm here to give you some answers, all based on years of doing this work right here in Yellowstone County.
Drywall finishing isn't just about slapping some mud on the wall, you know. It's a whole process, and understanding what's coming can save you a ton of headaches and just make everything go a lot smoother. Let's break it down, shall we?
Project Timeline: What to Expect
Folks always ask me, "How long is this going to take?" and honestly, it really just depends. A small repair job? That might be a day or two. A whole house? We're talking weeks. But for a typical room or that basement remodel, you're usually looking at anywhere from a few days to a week for the finishing itself, and that's not even counting the painting.
- Taping and First Coat: This is where we get the tape on all the seams and put down that first layer of joint compound. It's definitely messy, but it's super important. This usually takes a day or two, depending on how big the area is.
- Drying Time: Now, this is the big variable. Joint compound needs to dry completely between coats. Here in Billings, especially in the winter when our homes are dry, it might dry pretty fast. But if it's humid, or if there's a lot of moisture in the air, it can take longer. We're talking 12-24 hours per coat, sometimes even more. Don't try to rush this step; it's how you get a smooth, durable finish that lasts.
- Second and Third Coats (and sometimes more): We'll put on more coats after that, carefully feathering them out to create a truly flat, seamless surface. Each one needs its own drying time, naturally.
- Sanding: Once all the coats are good and dry, it's sanding time. This is where we smooth everything out until it's perfect. It's dusty, no two ways about it.
- Cleanup: We don't just leave you with a dusty mess, though. Any good contractor will do a thorough cleanup.
Just remember, this timeline is specifically for the drywall finishing. If you're having new drywall hung, that's a completely separate step that happens before any of this. And if you're planning to paint afterward, make sure to factor in more time for primer and paint coats.
What Happens During the Process?
First off, expect some disruption. We're working inside your home, and while we try our best to stay out of your way, it's still a construction zone. There will be noise, dust, and tools everywhere. We'll put down drop cloths and plastic sheeting to protect your floors and furniture, but some dust always seems to find a way out. That's just how drywall work goes, unfortunately.
You'll see layers of joint compound go on, then dry, then more compound. It'll probably look a little rough before it looks perfect. Don't panic if it doesn't look great after that first coat; that's totally normal. The real magic happens over several layers and a whole lot of sanding.
We'll likely need access to your power outlets, and sometimes we'll need to open windows for ventilation, especially during the warmer months. If you're getting a texture applied, that'll be the very last step before we clean up.
How to Prepare Your Home for Drywall Finishing
Good preparation is really key to a smooth project. Here's what you can do:
- Clear the Area: Move all your furniture, electronics, and anything valuable out of the work zone. If something can't be moved, cover it really well with plastic sheeting. We can help with some larger items, but it's always best if you handle your personal belongings.
- Remove Wall Hangings: Take down all your pictures, mirrors, shelves, and anything else hanging on the walls. Pull out any nails or screws, too.
- Protect Floors: While we bring our own drop cloths, if you have particularly delicate flooring, you might want to add an extra layer of protection.
- Secure Pets and Kids: This is a dusty, noisy environment with tools and materials all over. Please keep pets and small children away from the work area for their safety and to help us work efficiently.
- Ensure Access: Make sure there's clear access to the work area, and let us know about any specific entry or exit points you'd prefer us to use.
- Ventilation: If you have good ventilation, like an exhaust fan in a bathroom or kitchen, it can really help with drying times.
Questions to Ask Before Signing a Contract
Before you commit to anyone, you really need to be clear on a few things. And please, don't be afraid to ask these questions:
- What's your exact scope of work? Get it in writing. Does it include hanging drywall, or just the finishing? Does it include primer? What about cleanup?
- How do you protect my home from dust? Ask about their dust control measures. We use plastic barriers and good ventilation, for example.
- What's your estimated timeline, including drying times? Get a realistic expectation here.
- Who will be doing the work? Is it an in-house crew, or do you sub out? I prefer to keep my crew at Billings Drywall Company on every job because I know their quality, you know?
- What kind of joint compound and materials do you use? Quality materials really do make a difference in the final product.
- What's your payment schedule? A reputable contractor won't ask for 100% upfront.
- Do you carry insurance? This is non-negotiable. You want general liability and workers' compensation. Ask for proof, too.
- What's your warranty on the work? What happens if cracks pop up a few months down the line?
- Can I see references or examples of your work? A good contractor will be proud to show off what they've done.
Asking these questions upfront helps you understand exactly what you're getting into and ensures you're working with a professional who truly stands behind their work. A drywall finishing project can really transform a space, and with the right planning, yours will turn out great.