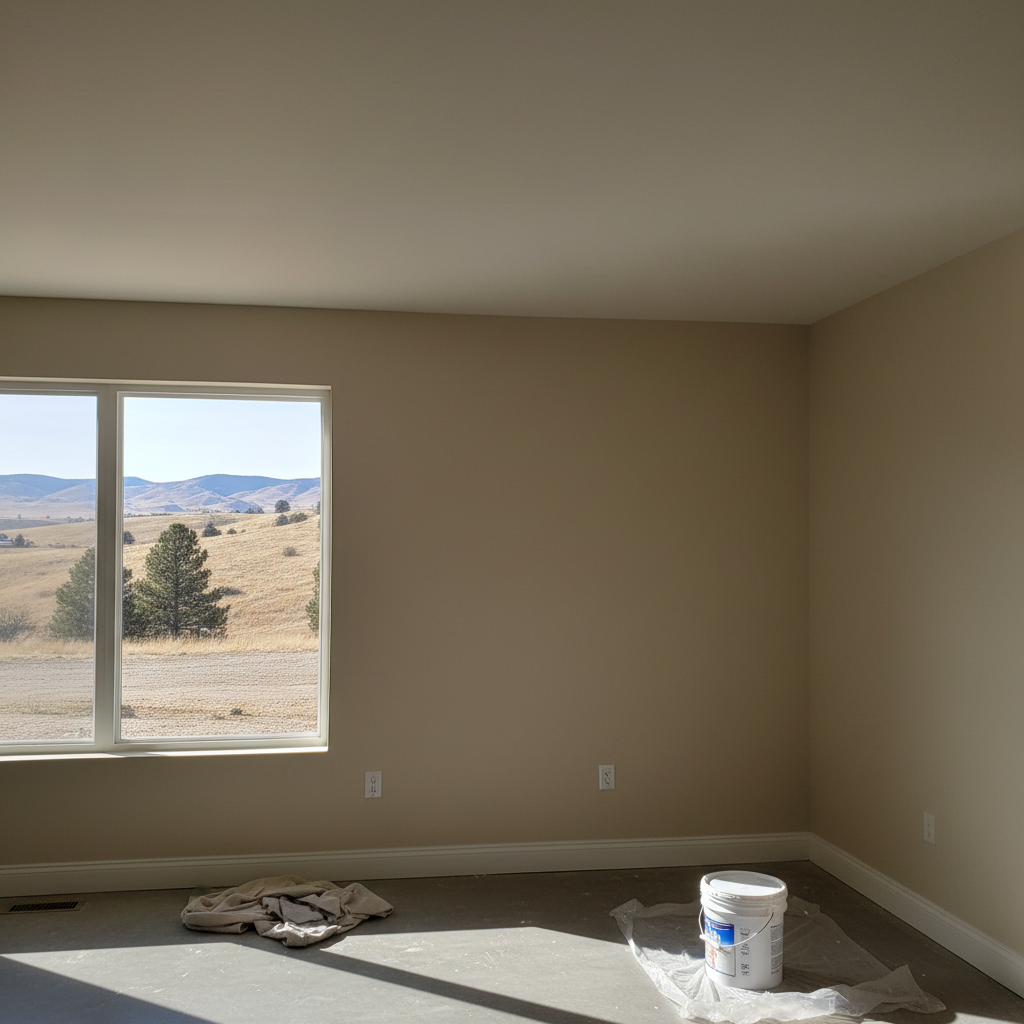
Alright, let's talk popcorn ceilings. I get a lot of calls about these things, and it's usually the same questions popping up. People want to know what they're getting into, and that's smart. So, I figured I'd lay out the most common stuff I hear, straight from my experience working on homes all over Billings.
Do I really need to remove my popcorn ceilings? Can't I just paint over them?
You can paint over them, sure. Lots of folks do. But here's the deal: painting popcorn ceilings is a temporary fix, and honestly, it often makes things worse in the long run. First, it's a pain to paint them right. They soak up paint like a sponge, so you'll use way more than you think. Second, painting adds weight. If the original texture wasn't applied perfectly, or if there's any moisture damage, that extra weight can make it sag or even peel off. And if you ever decide to remove it later, that paint makes the job ten times harder. The texture gets harder, less porous, and doesn't want to soften up for scraping. Trust me, if you're thinking about painting them, you're probably already thinking about getting rid of them. Just bite the bullet and do it right.
How long does popcorn ceiling removal actually take?
That's a tough one to give an exact number for without seeing your place, but I can give you a good idea. For an average-sized room, say a living room or a couple of bedrooms, we're usually looking at a few days. Day one is all about prep: sealing off the room, protecting everything, and getting the ceiling wet. Day two is often the scraping itself, which is the messiest part. Then it's usually a day or two for skim coating, sanding, and getting it ready for primer. If you've got a whole house, or really high ceilings, or if there's paint over the popcorn, it'll take longer. We're talking about a multi-step process, and rushing it just leads to a bad finish. We don't cut corners at Billings Drywall Company, so we take the time needed to do it right.
Is it really that messy? What about dust?
Oh yeah, it's messy. Don't let anyone tell you otherwise. Popcorn ceiling removal is probably one of the messiest home improvement jobs out there. When we scrape that stuff off, it's like a snowstorm of old texture. That's why proper preparation is key. We seal off the work area completely with plastic sheeting, cover floors, walls, and any furniture that can't be moved. We use drop cloths and specialized vacuums. But even with all that, some dust is inevitable. It's not the fine drywall dust you get from sanding new mud, but more like gritty, flaky bits. You'll want to plan on being out of the house, or at least out of the immediate work area, for a good chunk of the process. We do a thorough clean-up, but you'll probably still find a stray flake or two in the coming days. It's just the nature of the beast, isn't it?
What's the deal with asbestos? How do I know if my ceiling has it?
This is a big one, and it's super important. If your house was built before 1980, there's a good chance your popcorn ceilings contain asbestos. It was a common additive back then because it's fire-resistant and durable. As long as it's undisturbed, it's generally not a problem. But when you start scraping it, those asbestos fibers can become airborne, and that's a serious health risk. You absolutely need to get it tested before any work starts. Don't skip this step. It's not expensive, and it's the only way to know for sure. You can find certified asbestos testing labs right here in Billings. If it tests positive, you'll need to hire a certified asbestos abatement company to remove it safely. We won't touch it if it's positive for asbestos; that's a specialized job for abatement pros.
After removal, what kind of finish can I get?
Once that old popcorn is gone, the world of ceiling textures opens up. Most people opt for a smooth finish, which looks clean and modern. It's a classic look that never goes out of style. But you can also go for something like a knockdown texture, which has a subtle, mottled look, or even a skip trowel, which gives it a more hand-crafted appearance. It really depends on the look you're going for in your home. Smooth is the most popular choice, but it also requires the most skill to get perfectly flat and flawless. We'll always discuss your options and show you samples so you can pick what's best for your home's style.
Will my walls and floors be damaged during the process?
Our goal is always to protect your home. We take extensive measures to prevent damage. This means covering everything with heavy-duty plastic sheeting and drop cloths. We tape off walls, light fixtures, and anything else that could get hit. That said, it's a construction project, and sometimes minor dings can happen, especially if we're working in tight spaces or moving equipment. We're always careful, but if a small scuff occurs, we'll fix it. Your floors will be completely covered, so they should be fine. The biggest risk is usually to the walls if they're not fully protected, which is why we're so careful with our plastic barriers. We treat your home like it's our own.
Why do I need to prime the ceiling after removal and before painting?
Priming isn't just a suggestion; it's a critical step after popcorn ceiling removal and skim coating. Here's why: first, the new drywall compound (the mud we use to skim coat) is porous. If you just paint directly over it, the paint will soak in unevenly, leading to a splotchy, inconsistent finish. Primer seals that surface, creating a uniform base for your paint. Second, it helps paint stick better. The primer creates a surface your topcoat can really grab onto, which means better durability and fewer issues down the road like peeling or flaking. Third, it helps hide any minor imperfections and ensures your final paint color looks true. Especially here in Billings, where we get pretty dry air, that primer helps control how the paint dries and cures. Don't skip the primer; it's what makes your new ceiling look professional and last.
What's the cost difference between DIY and hiring a pro for this job?
Okay, so you're probably wondering if you can just do this yourself to save some cash. You can, but let's be real about the true cost. DIY means buying or renting all the gear: plastic sheeting, tape, drop cloths, respirators, safety glasses, scrapers, mud pans, drywall knives, sanding poles, shop vacs, and then all the materials like joint compound, primer, and paint. Then there's the time – it's a physically demanding, repetitive, and time-consuming job. Most homeowners underestimate how long it takes and how much effort it requires to get a smooth, professional finish. If you're not experienced with drywall finishing, you'll likely end up with an uneven surface that you'll regret every time you look up. When you hire a pro like Billings Drywall Company, you're paying for our experience, our specialized tools, our efficiency, and our ability to deliver a flawless finish. We handle the mess, the disposal, and the expertise. Sometimes saving a few bucks upfront ends up costing you more in frustration and re-dos down the line. Weigh your time, skill, and patience against the investment in a professional job. For a lot of folks, it's worth every penny to have it done right the first time.